While there is a waiting list for this gorgeous kit, Pam adds people every month and assures us it is no where near the year's wait some have heard rumored, and as you can see, the short wait is well worth it. If you like what I have done with this kit, I assure you it pales in comparison to what the DT has done and I invite you to take a look at: http: //www.mycreativescrapbook.com/dt.htm.
ON THIS DAY... it's all about you.
The photo is of my step-daughter Katie on her wedding day last April. I love the way this kit could be used for Shabby Chic elegance and romance to lighthearted charm and everyday fun. I hope I demonstrated both in my work.

 I did a lot of hand cutting on this page, including the title, clocks, leaves and some of the swirls. The black corner swirl is a rub on. I also distressed the clocks with my Heidi Grace tool and then inked, adding my own Prima E-line pearls to the centers, the only thing on this page that was not included in the kit. You could accomplish the same look with puffy paint. I also used a Fiskars embossing border punch.
 I just love the sticker and rub on sheets that were included in this kit. The hearts are stickers and "love" is a rub on. The black swirl is cut from patterned paper.
FLIGHT OF FANCY
 I love this fanciful photo of Katie on her wedding day that is so suited to these magically romantic papers. As you can see, I was not exaggerating about the flowers included in this kit! One might think I used them all on this one page, but one would be wrong!
 The strip border was so much fun to do. I began by using a Fiskars embossing border punch on the edge of plain white card stock then taking a single hole punch and punching a pair of holes as close together as I could at about 1.5" intervals to weave the pink ribbon through. I then place the leaves and roses over the the punched holes. The roses were included in the kit, and I made my own leaves by sketching them on white card stock, spraying them with English Ivy Glimmer Mist before cutting them out, and then distressing the edges with black ink and sketching in the lines with both a black pen and a Signo white gel pen.
This kit also included 2 sheets of transparencies, which included the frame you see here as well as the gorgeous sheet of velvet black that you can catch glimpses of through most of my layouts.
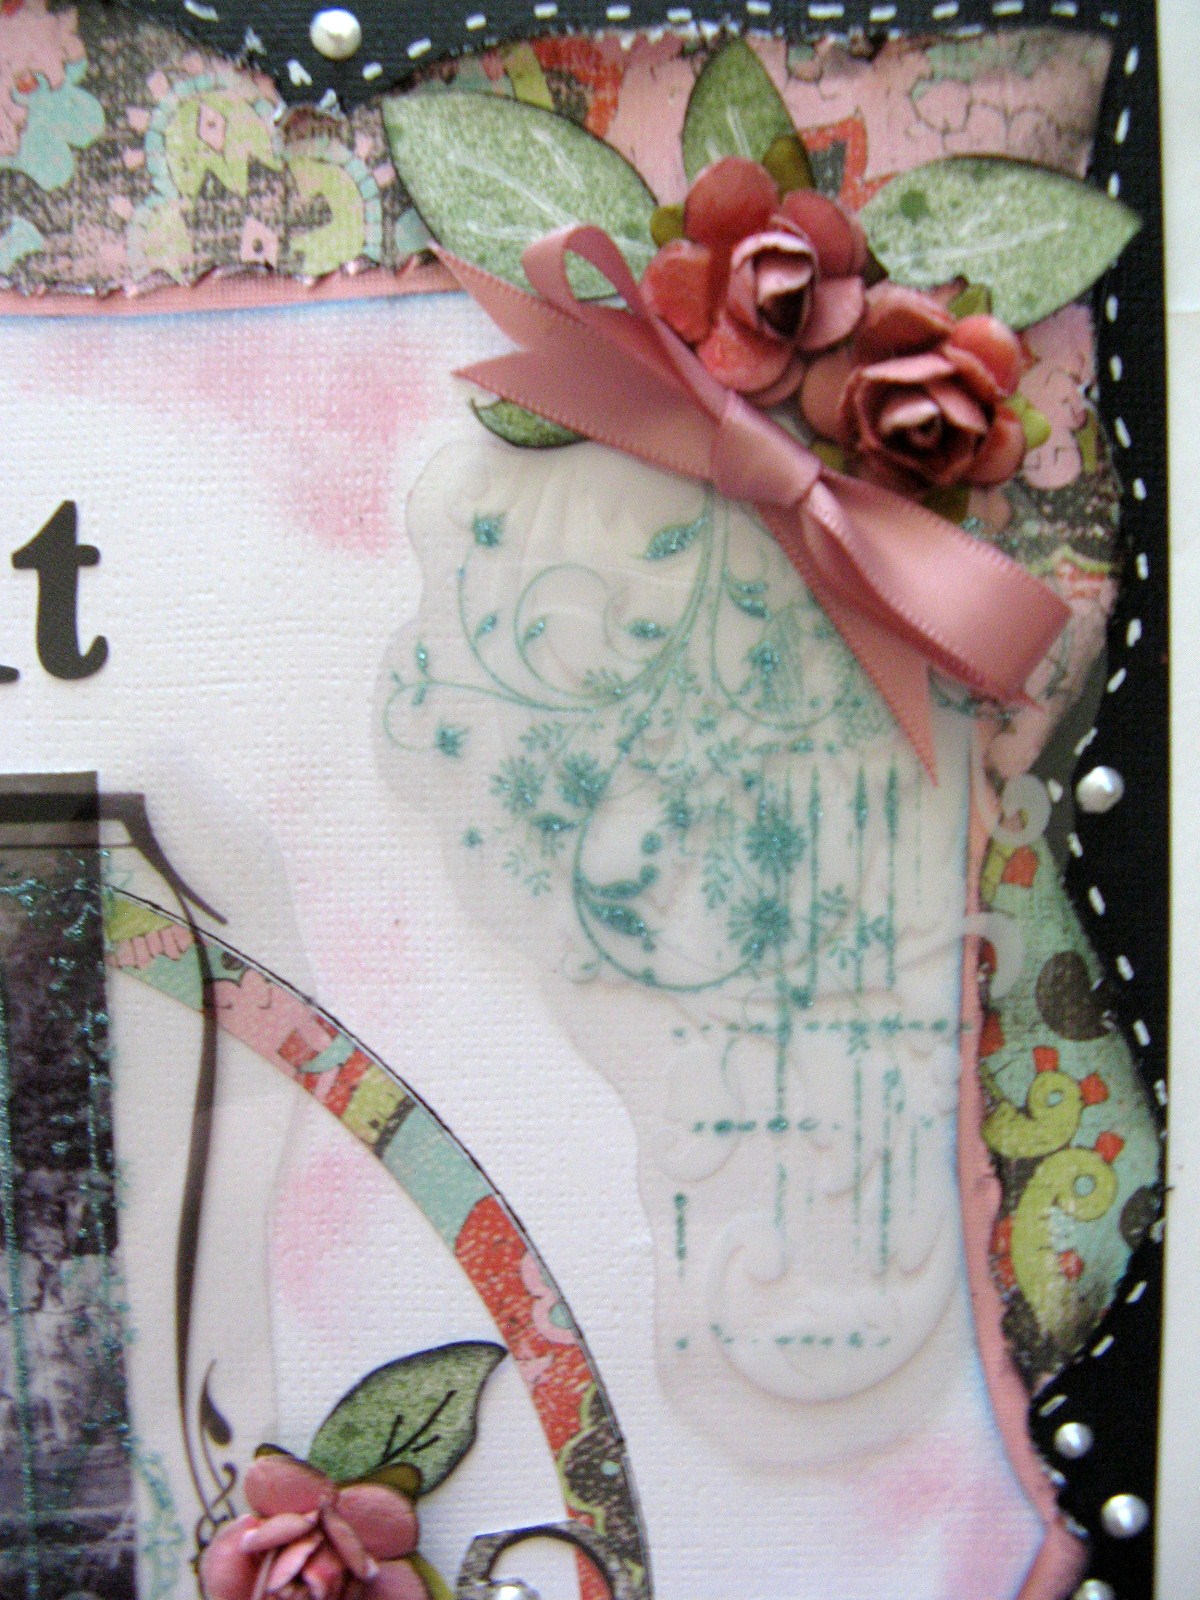
I used a Signo pen and white puffy glue on the border, and another of the transparencies in the corner. The black alphabets also came in the kit. The swirl inside the circle is hand cut from a sheet of pp. I used Fiskars deco-edge scissors for the pink border, distressing with a Heidi Grace distress tool and then inking.

SIT QUIETLY... do nothing.

The kit came with both a resin overlay frame and paper frame and I love them both! This layout features the paper frame and is of my lovely future daughter-in-law contemplating El Dora do in her native Colombia when she took my son to visit last summer.
 The journal square is part of the kit and I simply popped it up with foam squares and embellished it with puffy glue. The kit also included the lovely mini Prima floral stem that I divided. I made the pink torn circle flowers using a tutorial posted by Gabrielle Pallacco at MCS. I made the ribbon flowers by sewing a running stitch up one side of a 12" strip of the trims that were included in the kit and gathering them. The button center was also part of the kit, though I added my own string. The decorative centers are rub ons that I attached to white card stock and then cut out and attached with glue dots.
I just love the vintage frame and oval of lace that came in this kit! I used some of the velvet transparency behind the frame and cut the word "cherish" from the Prima flower backing. I cut the little decorative piece on the lace oval from patterned paper and added a touch of pink with the puffy paint.

YOUTH
 This layout features the transparency frame for a completely different effect. The photo is of my niece, Paige, and her college friend. The design is from a challenge sketch by Julie Bonner at MCS that everyone should check out!
 I just love all the gorgeous Prima flowers that came in this kit. This page uses one branch of the mini stem that I divided. I also used several Martha Stewart border punches on this layout and words cut from the Prima packaging.
 I love the sheet of journaling tags that comes with this kit. I cut around this one with deco-edge Fiskars scissors and inked. I'm sorry that I don't have the brand name of the stamp with me. The pretty hat pins in this kit can be used in so many fun ways, and I love the pop of color they bring.
MEMORIES
 The photo is of my niece Paige and her life time friends who we consider members of our family since they have been camping, 4-wheeling, etc. with us since they were children.
 I used Fiskar deco-edge scissors for the outside border and Martha Stewart punches for the border strips and photo frame. The butterflies are Silhouette cuts. This kit had so many gorgeous trims that are showcased particularly in this layout. My photo doesn't show it well, but the cream and pink ribbon I wove through the paper together look so gorgeous in real life and blend so beautifully with the patterned ribbon as well.
 For the flower I tore a circle and then petals, inking with red, for the base, then sewed a ribbon flower from a small section of the lace included in the kit for the center. The button and hat pin were also in the kit, but I added my own string.
CARDS
For You

Friends

SWEET LOVE
 Another lovely photo of Katie and her new husband Tim on their wedding day.
The papers, pearls and rub ons for this page were all from the kit, but I added my own trims and flower centers.

I had so much fun cutting, layering, punching, gluing, distressing, inking, stitching and embellishing on that large flower!
 Thanks so much for taking the time to visit! And thank you to Pam at My Creative Scrapbook for allowing me guest with her talented, inspired and sweet team!


